Webhooks
Webhooks
Using QuickMail webhooks makes it easy to fetch data from the workspaces under your organization and consolidate it.
Note Webhooks is only available to accounts on the Agency Plan.
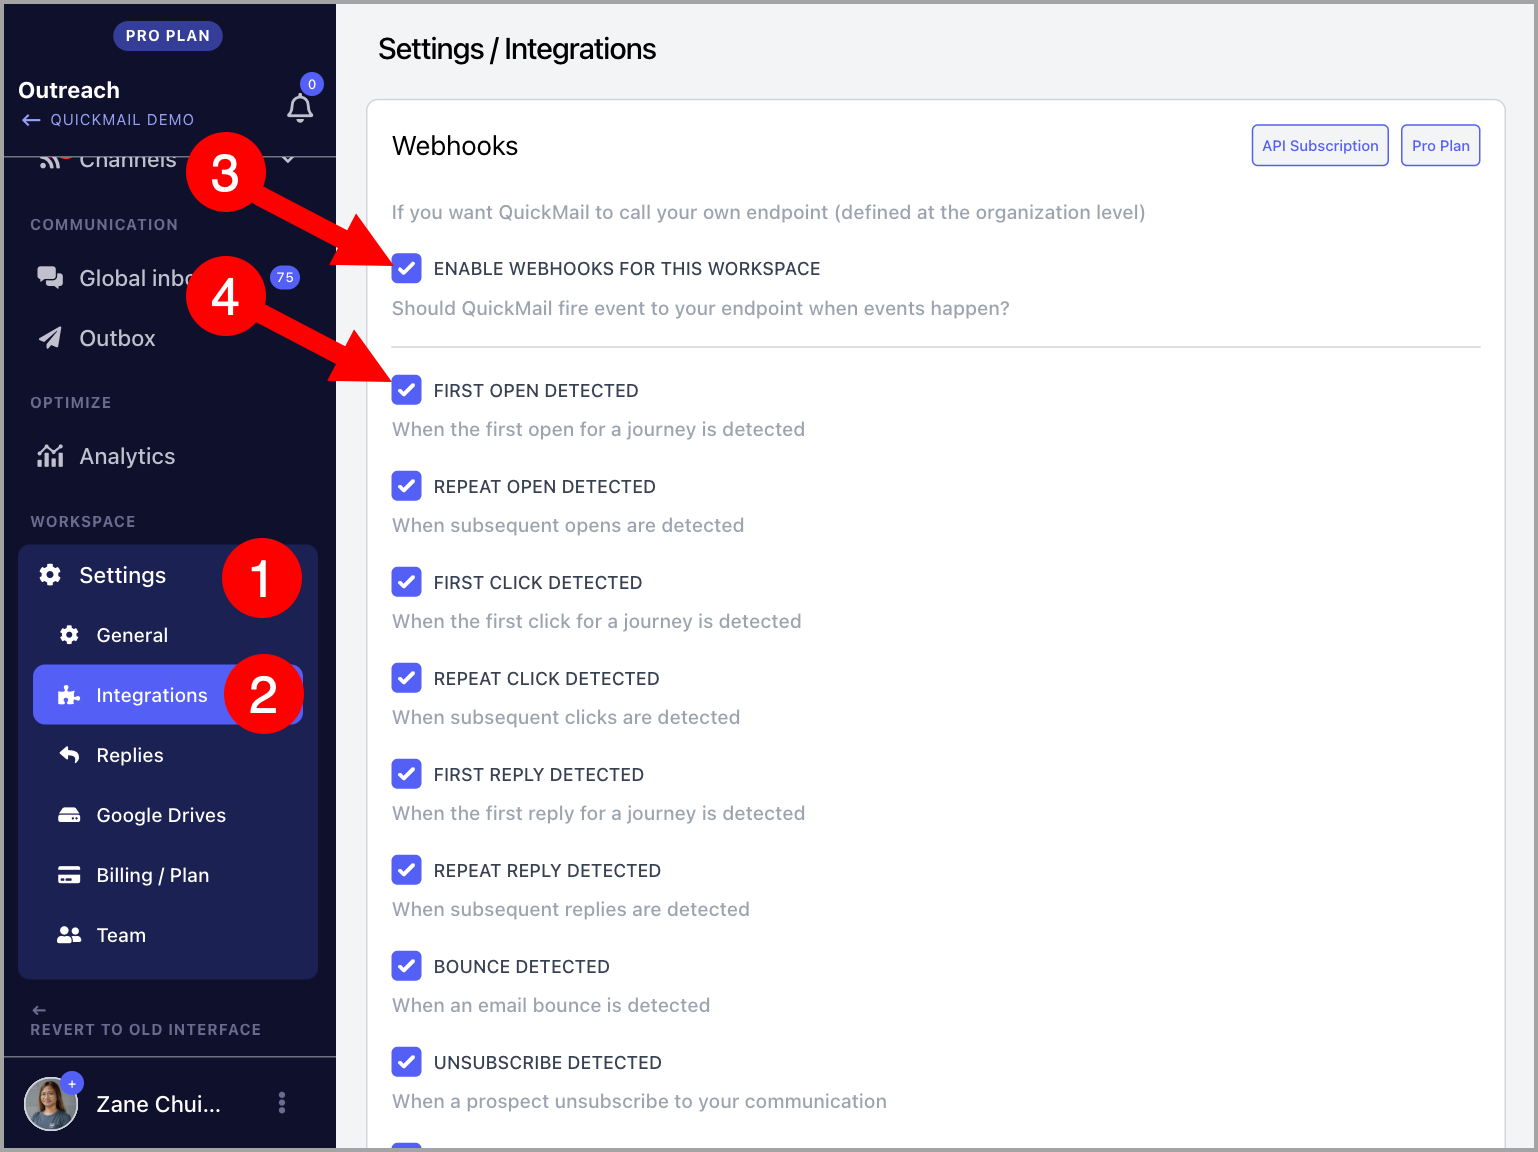
Here are the available webhook events:
First open
Repeat open
First click
Repeat click
First reply
Repeat reply
Bounce
Unsubscribe
Lead tagging
Task completed
Journey completed
Journey checkpoint
Opportunity status
How Does It Work?
Whenever an event occurs in a QuickMail workspace where a webhook is enabled, QuickMail sends all the information about that event to your webhook provider, such as Zapier or Make.com.
You can then use this information to automate workflows and perform actions such as recording data in a Google Sheet or sending it to another app.
How to Set It Up?
Step 1: Get the Webhook Endpoint URL
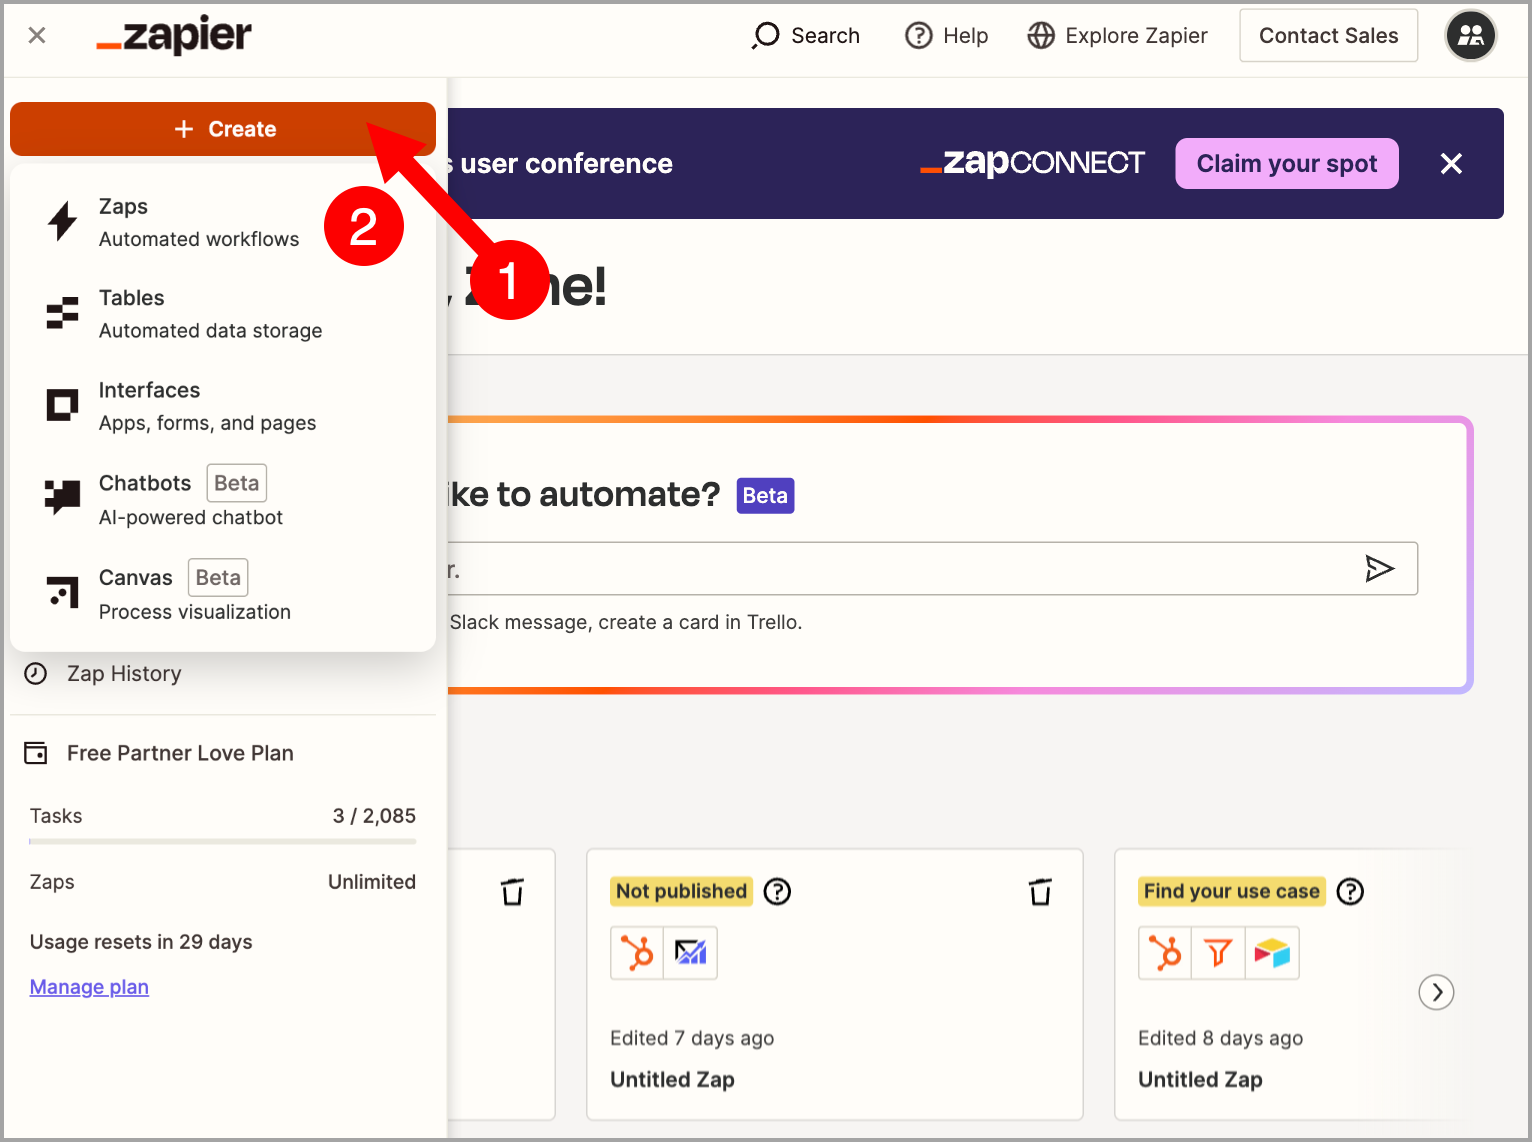
For Zapier
Go to your Zapier account and create a Zap.
Select Webhook by Zapier as the trigger → under Event, select Catch Hook → click Continue.
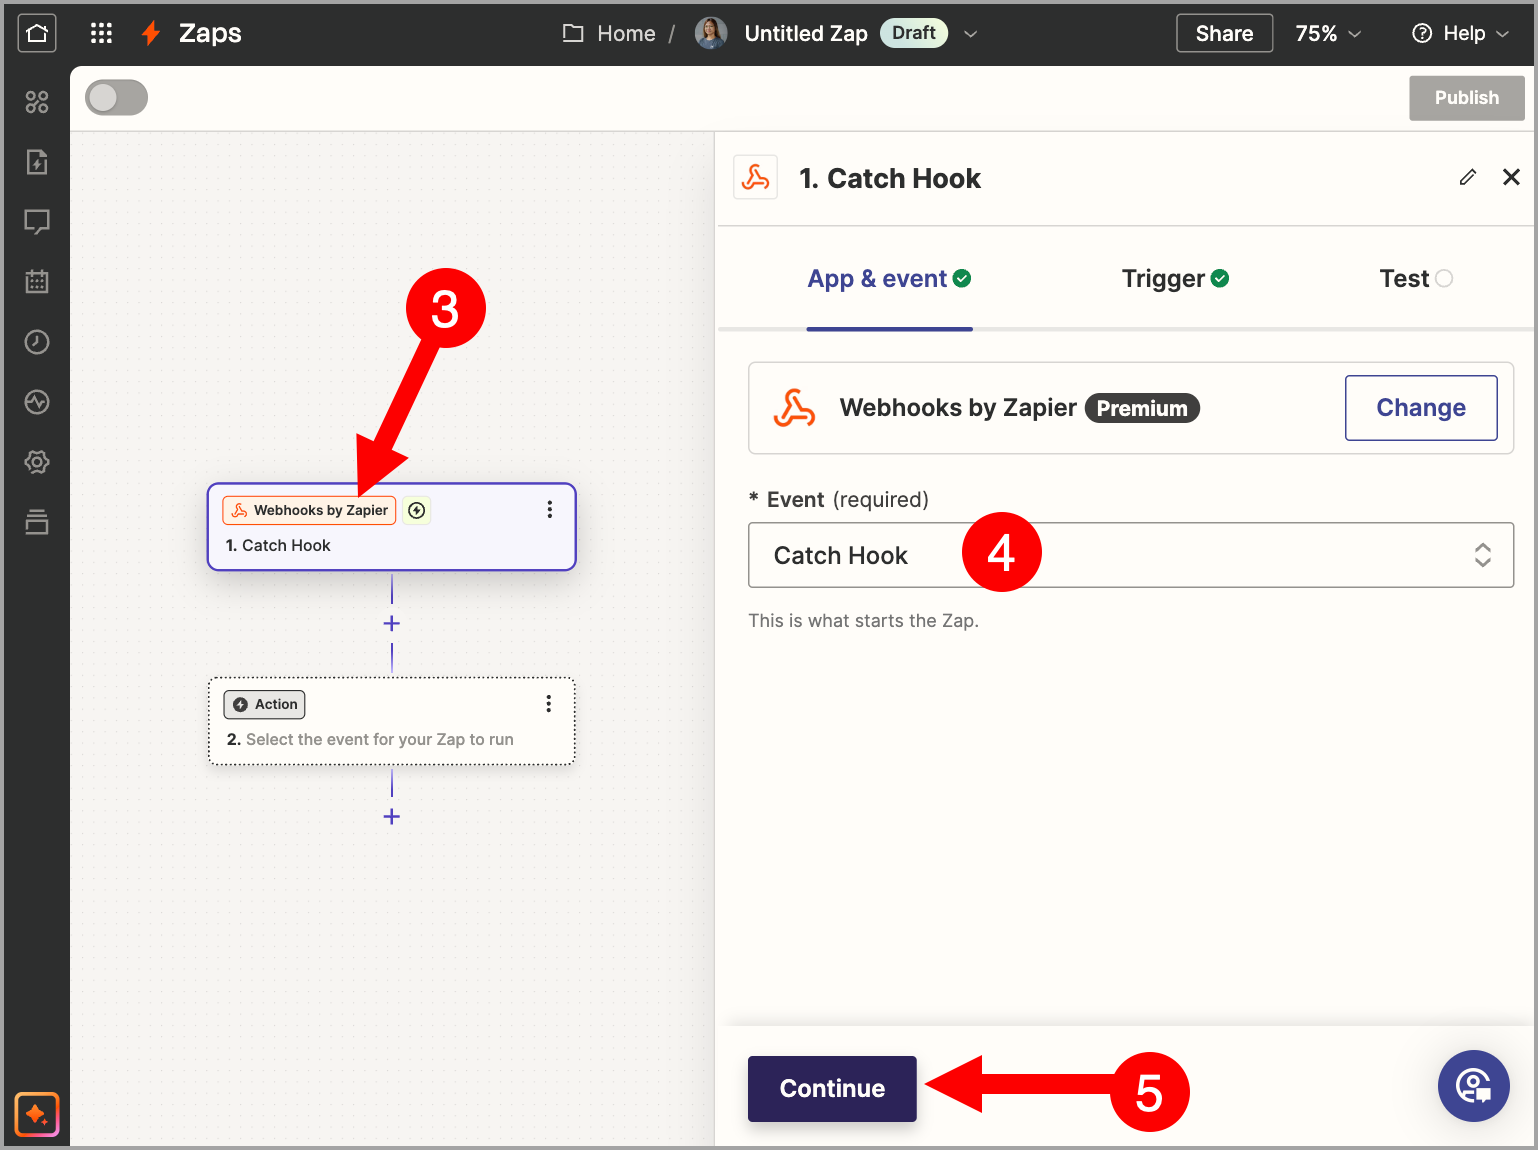
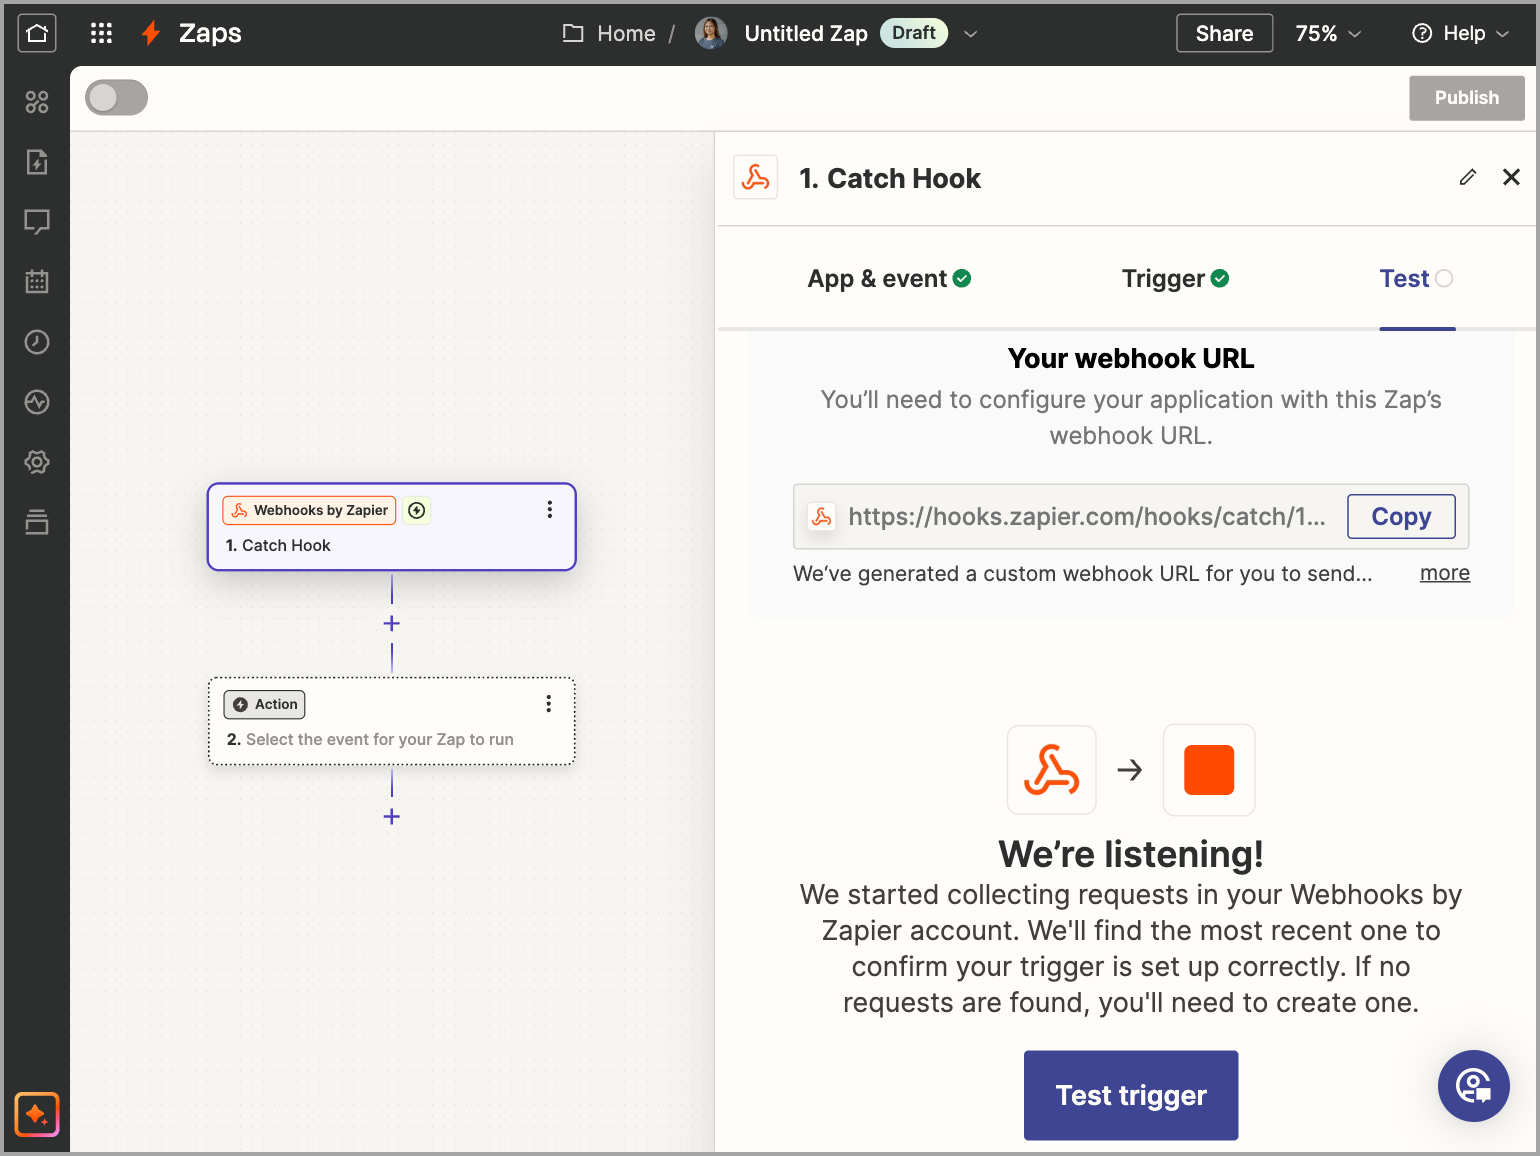
Click Continue again → copy the webhook endpoint URL.
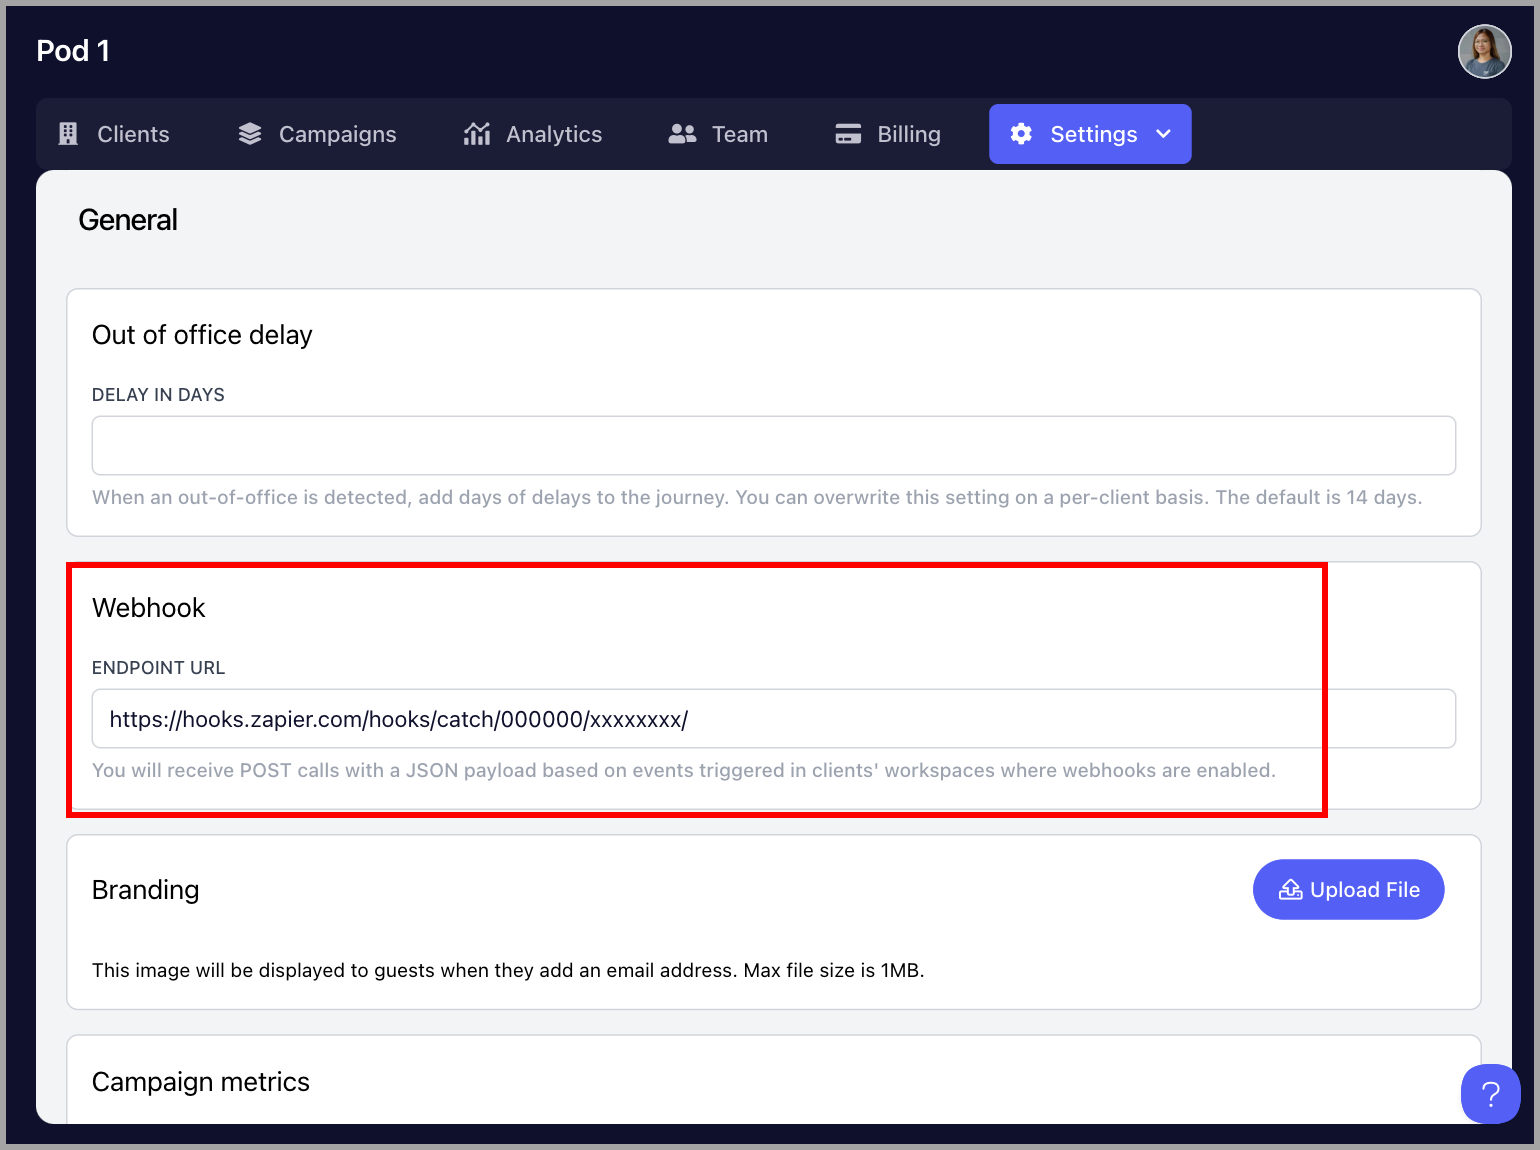
Step 2: Add the Webhook Endpoint URL to QuickMail
Go to the Organization Dashboard by clicking the organization name in the upper left corner of the workspace.
Note: If you don't see the option to access the Organization Dashboard, it means your account isn't on the Agency plan. To use webhooks, you'll need to upgrade to the $299/month Agency plan.
Go to the Settings tab → Webhooks → paste the webhook endpoint URL.
Step 3: Enable Webhooks
Go to the specific workspace → Settings → Integrations → enable Webhooks → select your preferred triggers.
Step 4: Complete Your Workflow
Go back to your webhook provider to complete the workflow and set it live.