Zapier Integration
Zapier Integration
In this article:
What is Zapier integration for?
How to set up Zapier integration?
How to create Zaps with QuickMail triggers and actions?
What Is Zapier Integration For?
Zapier allows you to connect multiple apps by linking triggers and actions, making it possible to automate workflows between QuickMail and other apps supported by Zapier.
Here are the available QuickMail Triggers:
Update Tag
New Reply
New Checkpoint Reached
New Journey Completed
New Unsubscribe
New Bounce
New Task
New Open
New Click
New Journey Sentiments or Labels
New Inbox Reply Status
Here are the available Actions:
Create or Update a Lead (this action can also add a lead to a campaign)
Cancel Journey
Unsubscribe Lead
Here is the available data that can be extracted:
Account ID
Lead ID
Lead Email
Lead First Name
Lead Last Name
Lead Title
Lead Role
Lead Phone
Lead Score
Lead Language
Lead Unsubscribed
Lead Verified Source
Company ID
Company Name
Company Domain
Journey ID
Campaign ID
Campaign Name
Campaign Description
Email Account
Journey Opens
Journey Clicks
Journey Replies
Journey Step Count
Click Link
How to Set Up Zapier Integration
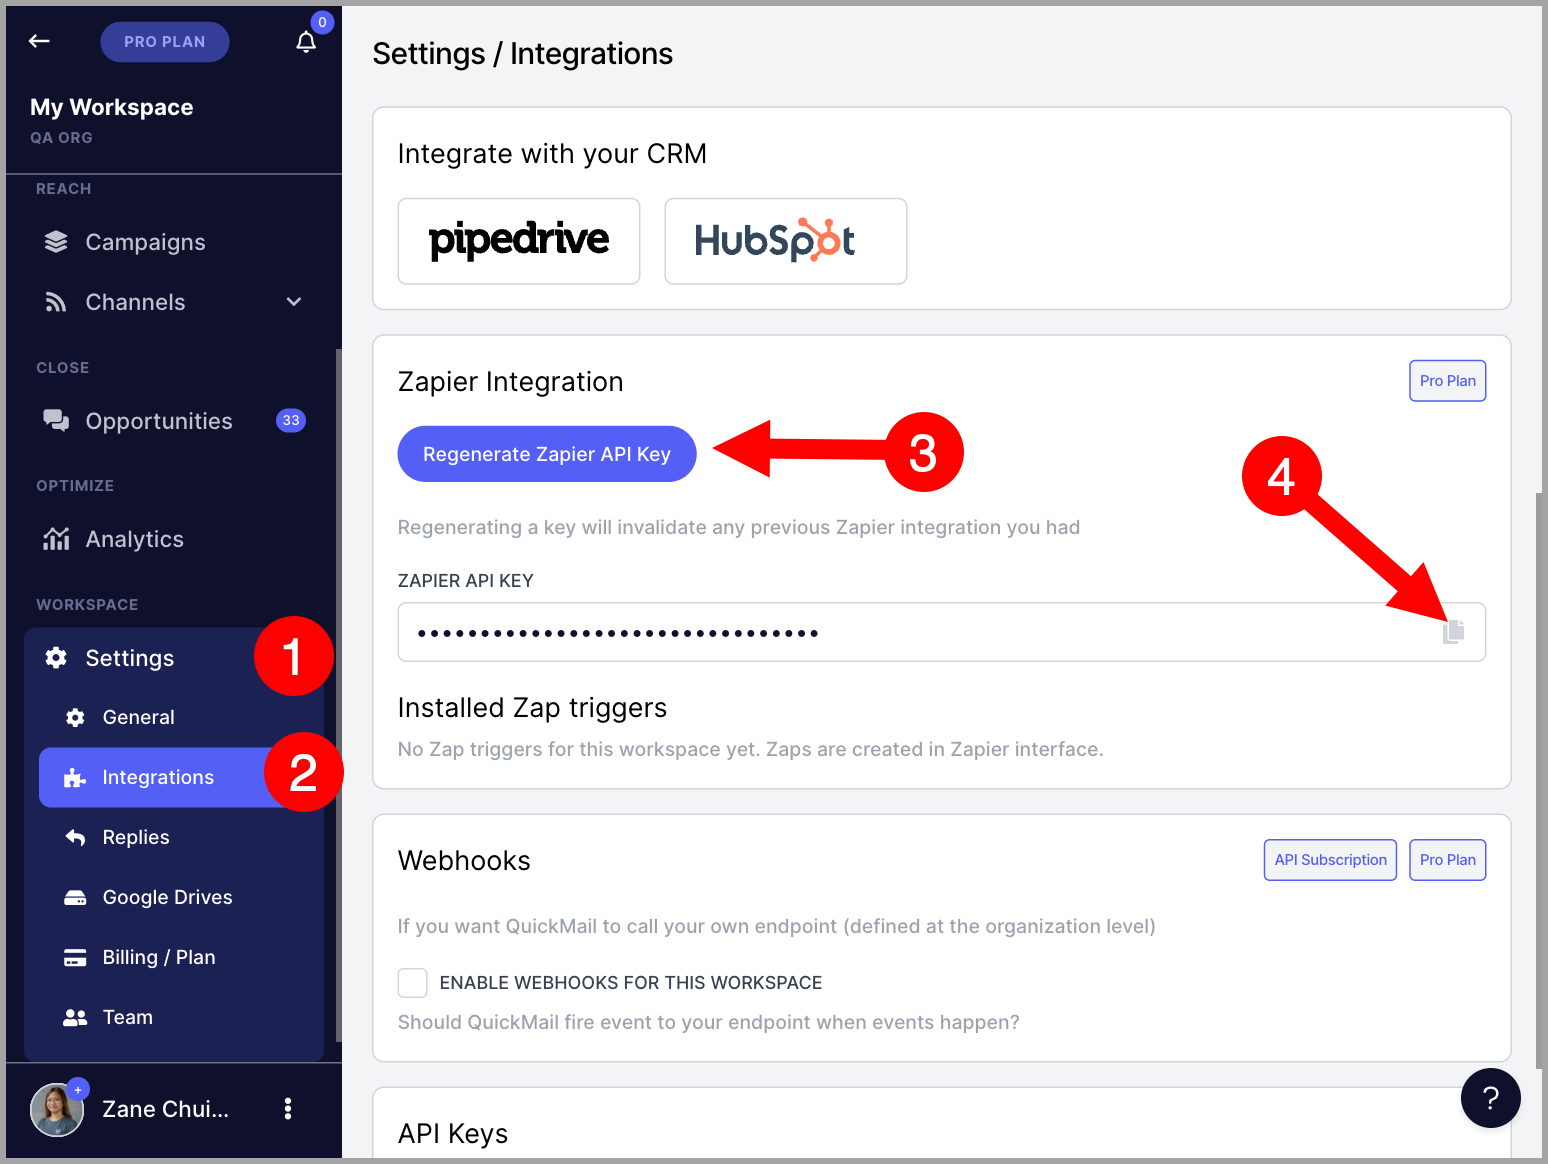
Go to Settings → Integrations → scroll down to the Zapier Integration section → click Regenerate Zapier API Key → copy the Zapier API key.
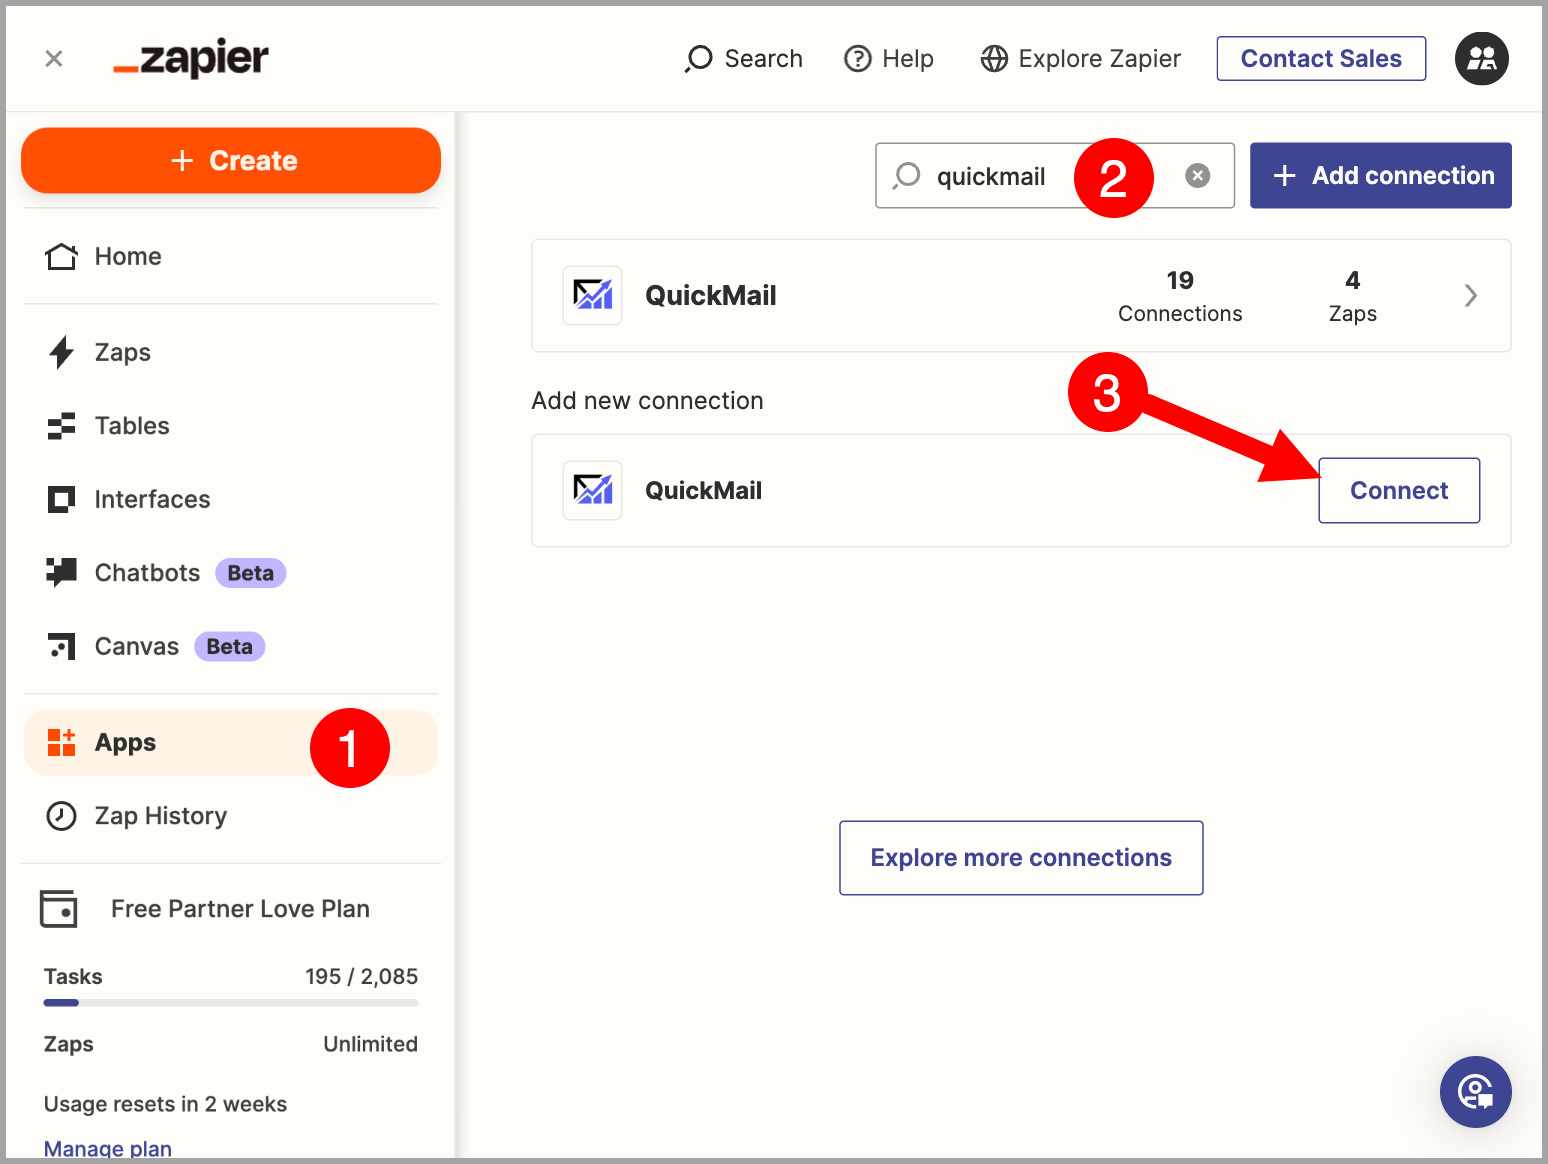
Go to Zapier → Apps → search for QuickMail → click Connect.
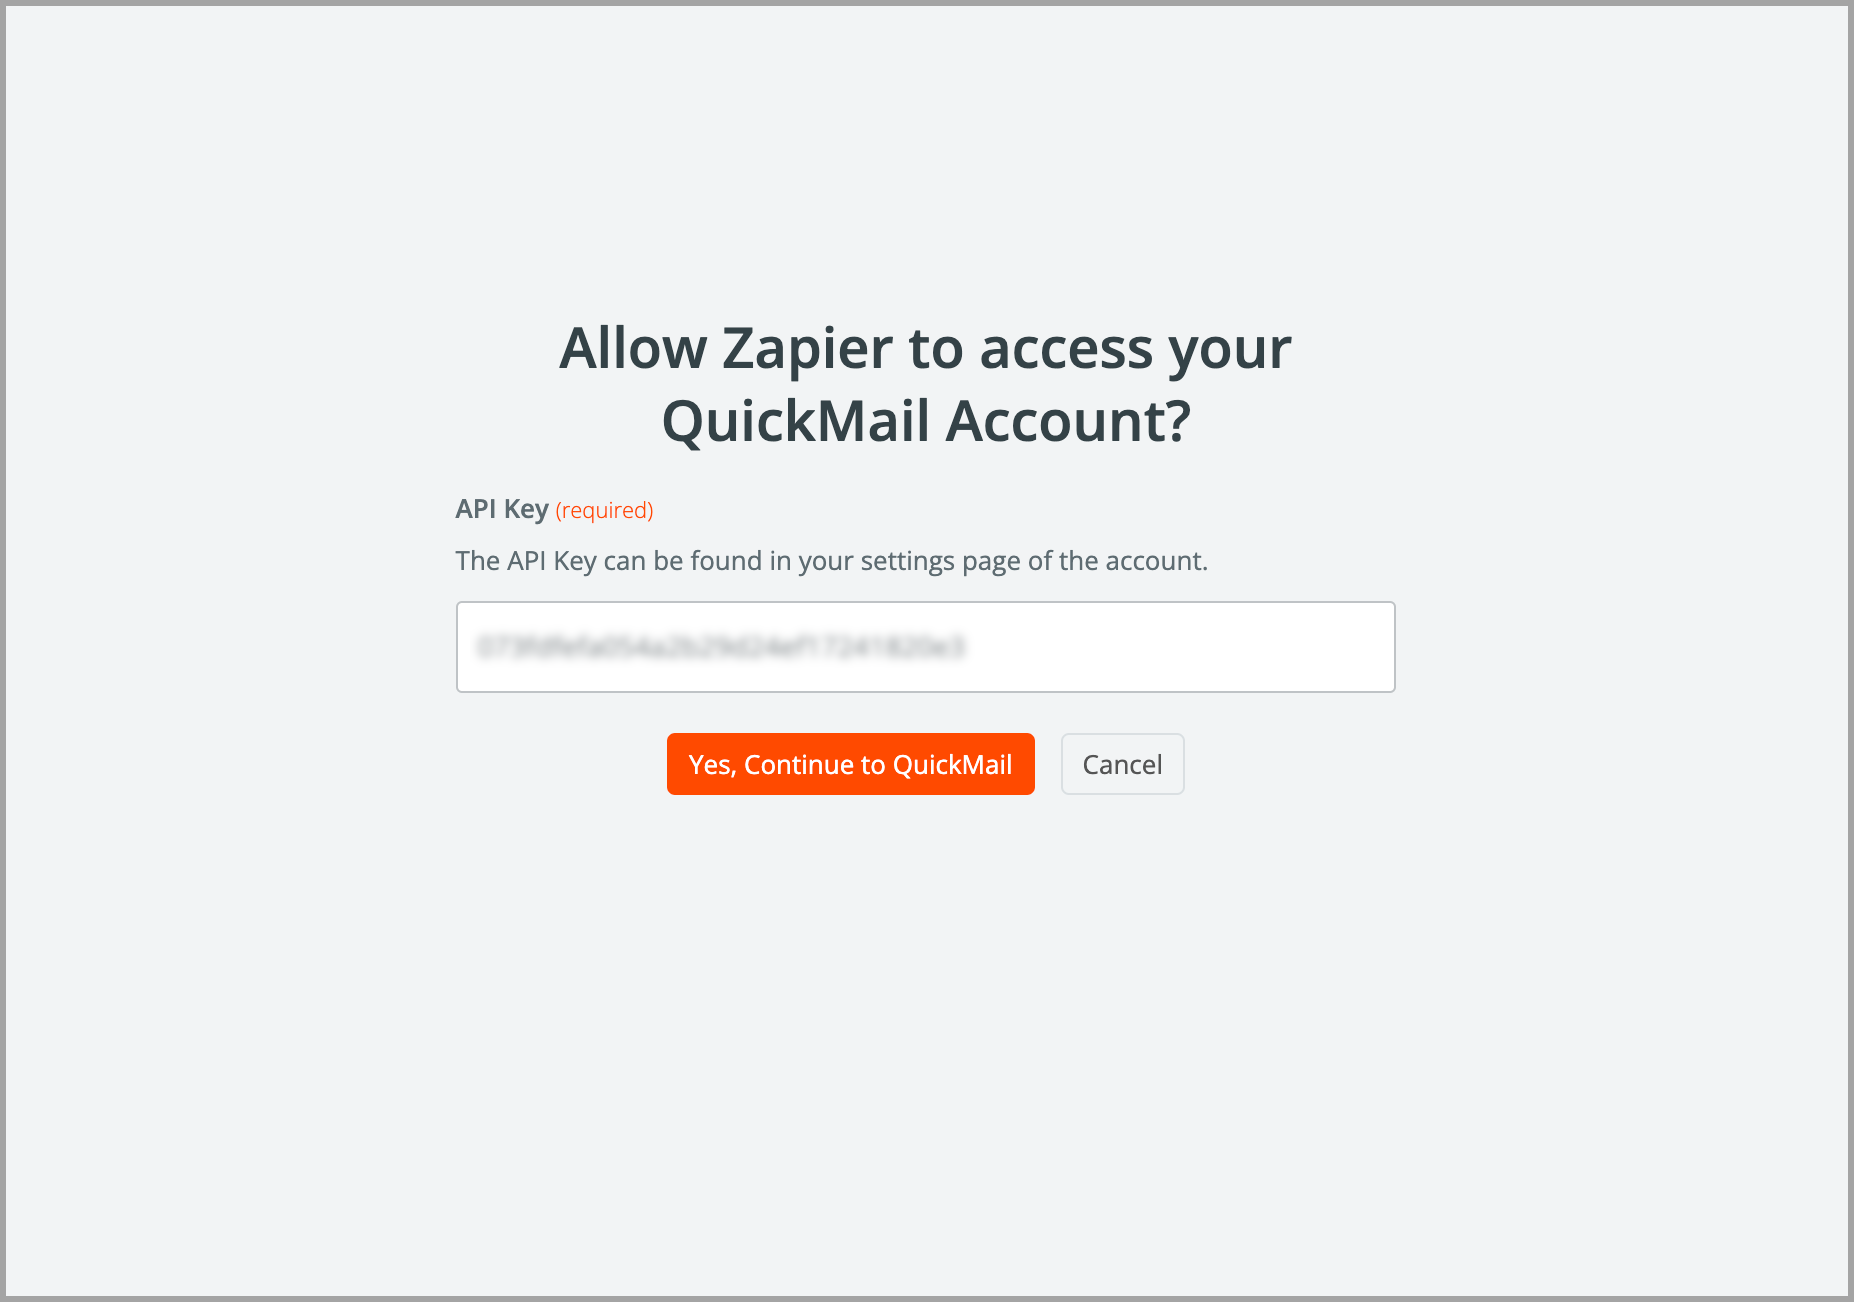
A new window will appear. Paste the Zapier API key generated in QuickMail → click Yes, Continue to QuickMail.
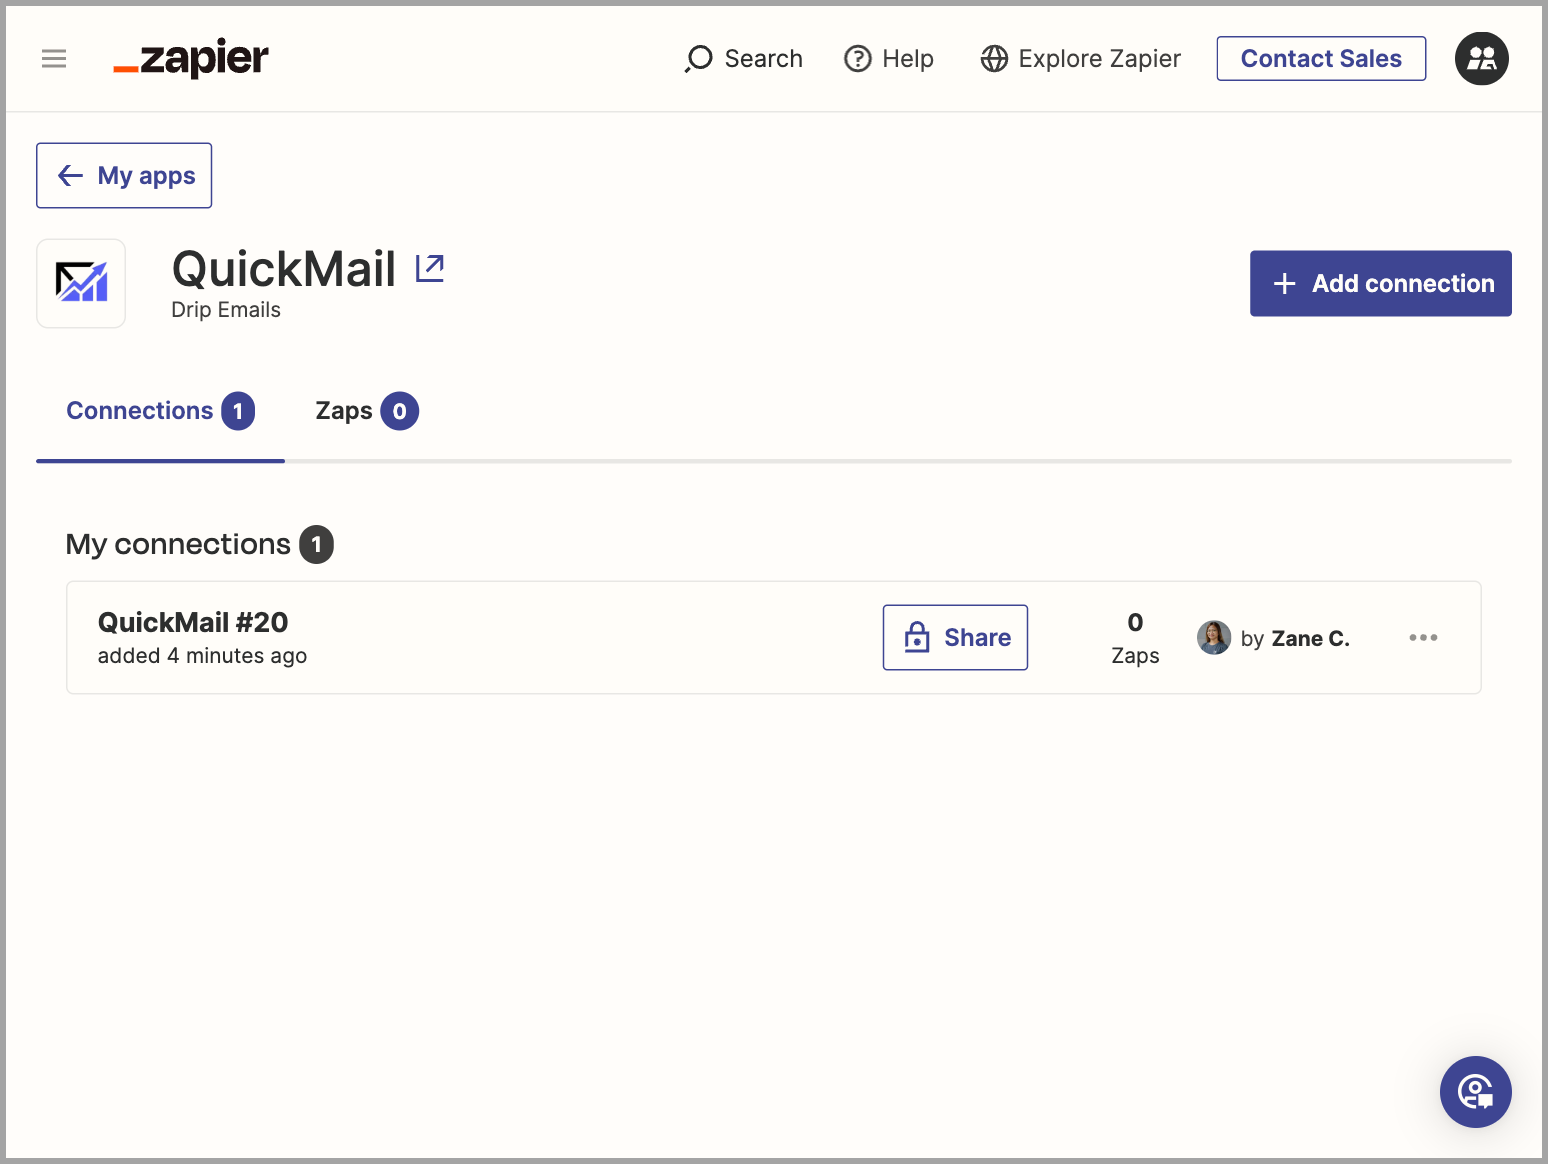
Here is what it looks like once QuickMail has been successfully connected to your Zapier account:
How to Create Zaps with QuickMail Triggers and Actions
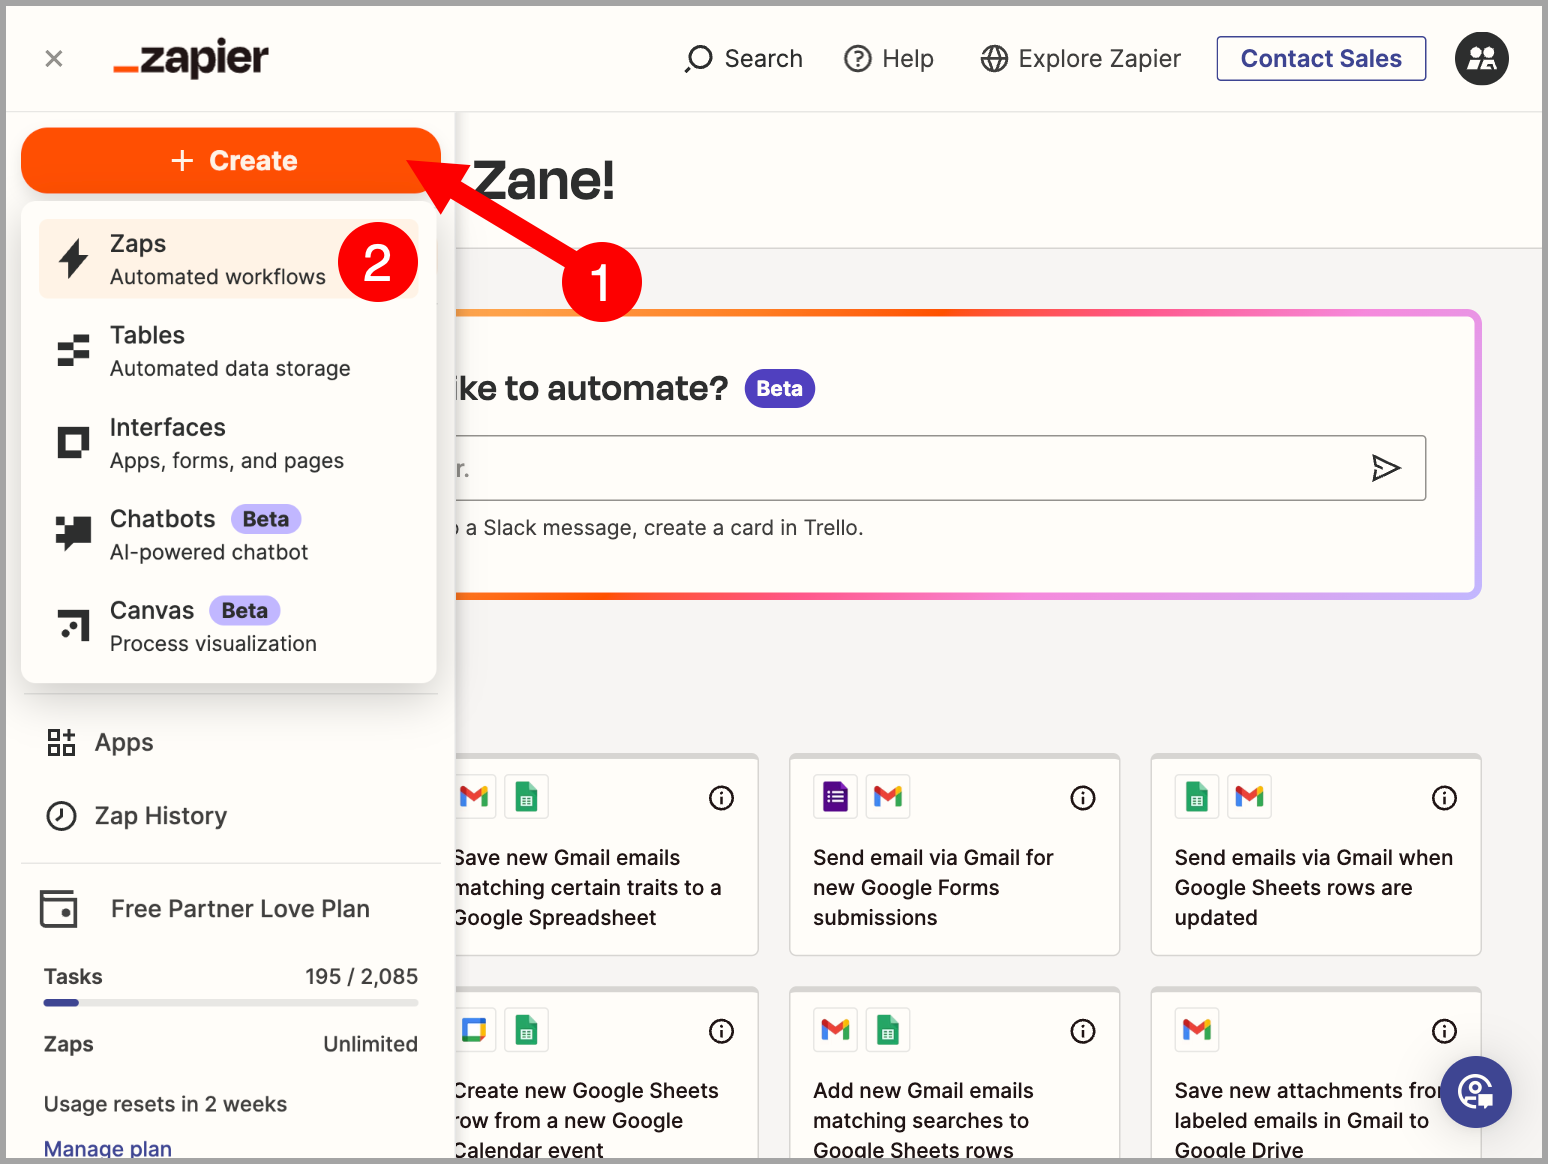
Go to the Zapier home page → click + Create → select Zaps.
When creating a Zap, search for QuickMail to find the trigger or action you need.

Follow the on-screen prompts to finish setting up the Zap. Once it is ready, use the toggle in the top-right corner to turn it on.